How to bake Soviet shortcrust “peaches” with a sweet surprise (RECIPE)
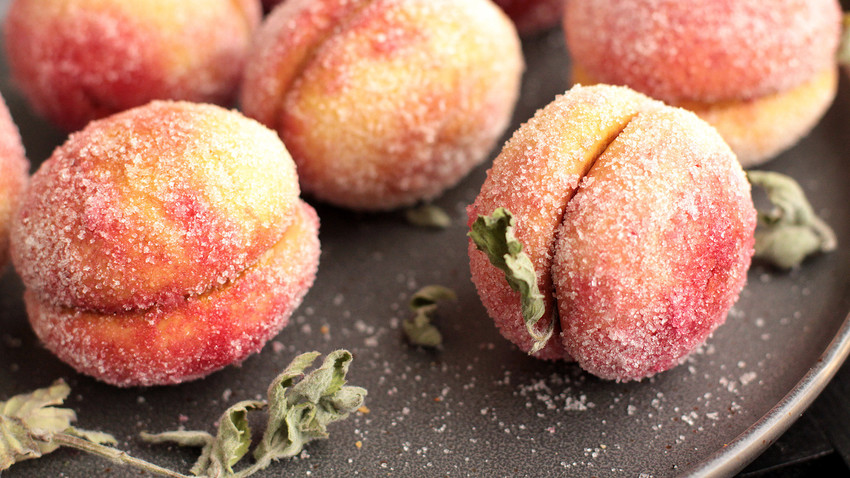
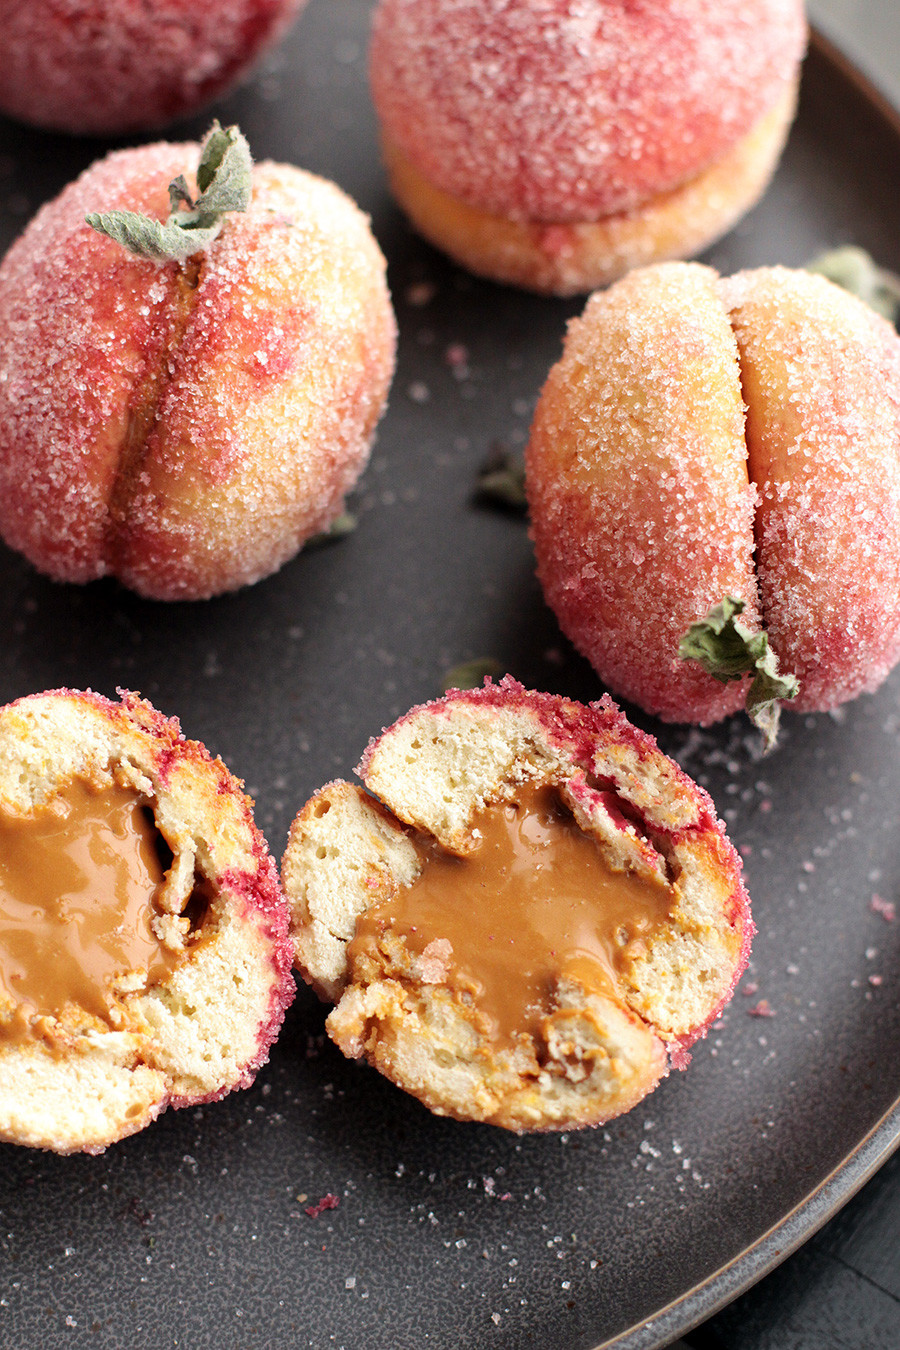
Peach cookies, or “persiki”, as they are called in Russian, are traditional shortcrust pastries made of two halves of short-round cookies that have the most scrumptious filling – boiled condensed milk, or dulce de leche. There is actually nothing special about the cookies recipe itself, however; dipping them into red and orange dyes, and coating in sugar transforms your basic pastry into the most realistic looking fuzzy peach. This is actually not the only type of Soviet cookies in the form of fruit or other botanical growth: shortcrust “mushrooms” are also worth trying, but they don’t have the scrumptious filling as “peaches” do.
I remember peach cookies from my school canteen, as well as my mother: “peaches” have been popular for decades. However, it has always been more of a kind of home-made than store-bought pastry, and that’s why many Soviet women had their own signature recipe. That’s why there’s no single and common way of baking peach cookies. Nonetheless, there’s one tip common for literally all possible recipes: in the USSR it was widespread to dye cookies into peach colors with natural freshly squeezed carrot and beet juice.
Today, I hardly ever find peach cookies in bakeries and pastry shops and consider this absolutely unfair: this is one of the most delicious sweets you may ever enjoy.
Ingredients for the pastry:
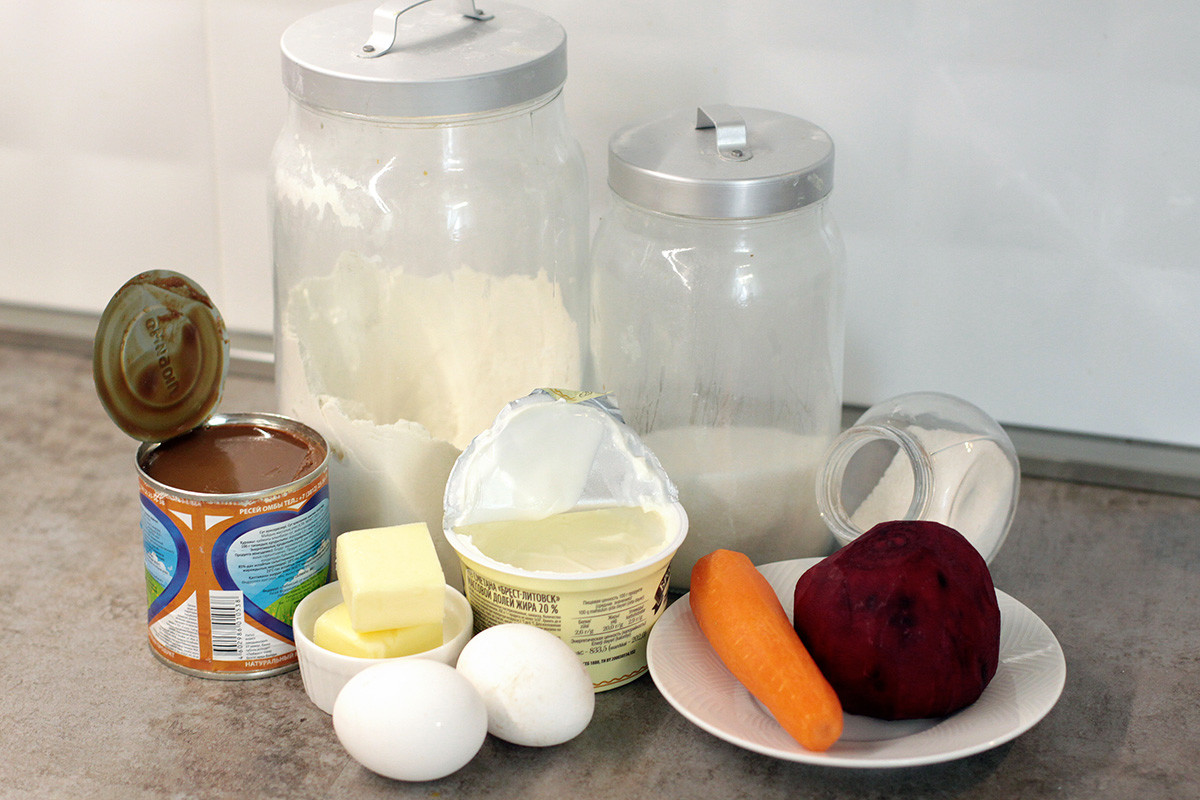
- 2 eggs
- 300-350g plain flour
- 100g sugar
- 50g butter
- 50g sour cream
- ½ tsp baking powder
- a pinch of salt
Ingredients for filling:
- 250g boiled condensed milk or dulce de leche
- 1/3 tsp salt
- Ingredients for dye:
- 1 carrot
- 1 beet
- + sugar for dipping
Cooking:
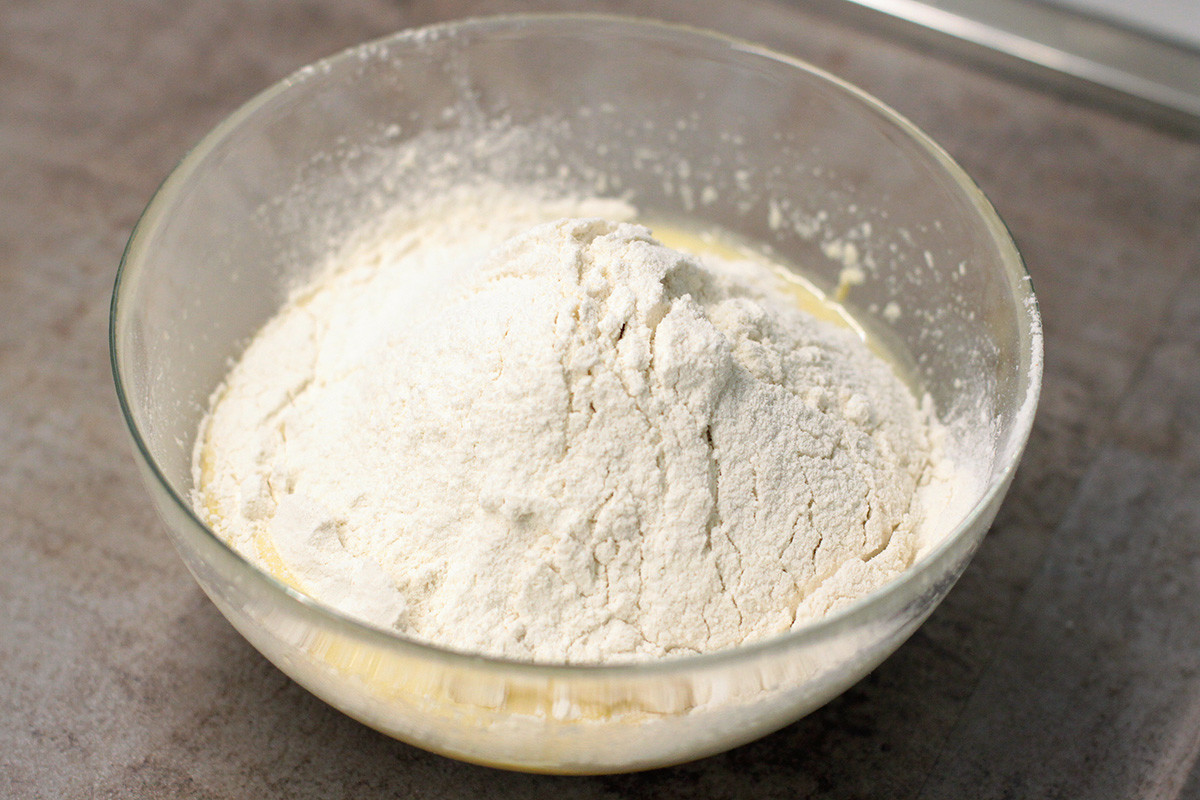
1. Start with your cookie pastry: in a large bowl whisk eggs with sugar using a mixer until sugar grains dissolve.

2. Next, take the softened butter and sour cream, and add them to the egg mixture and whisk again. Then sift flour with salt and baking powder. You better first add 300g of flour and check the pastry: if it is still too runny, add the remaining 50g and mix until incorporated.
3. Do not worry if the pastry feels sticky: this consistency makes the cookies more tender. It is absolutely not necessary to round the pastry into a ball: form your cookies straight from the bowl with the pastry by using a tablespoon and your hands.

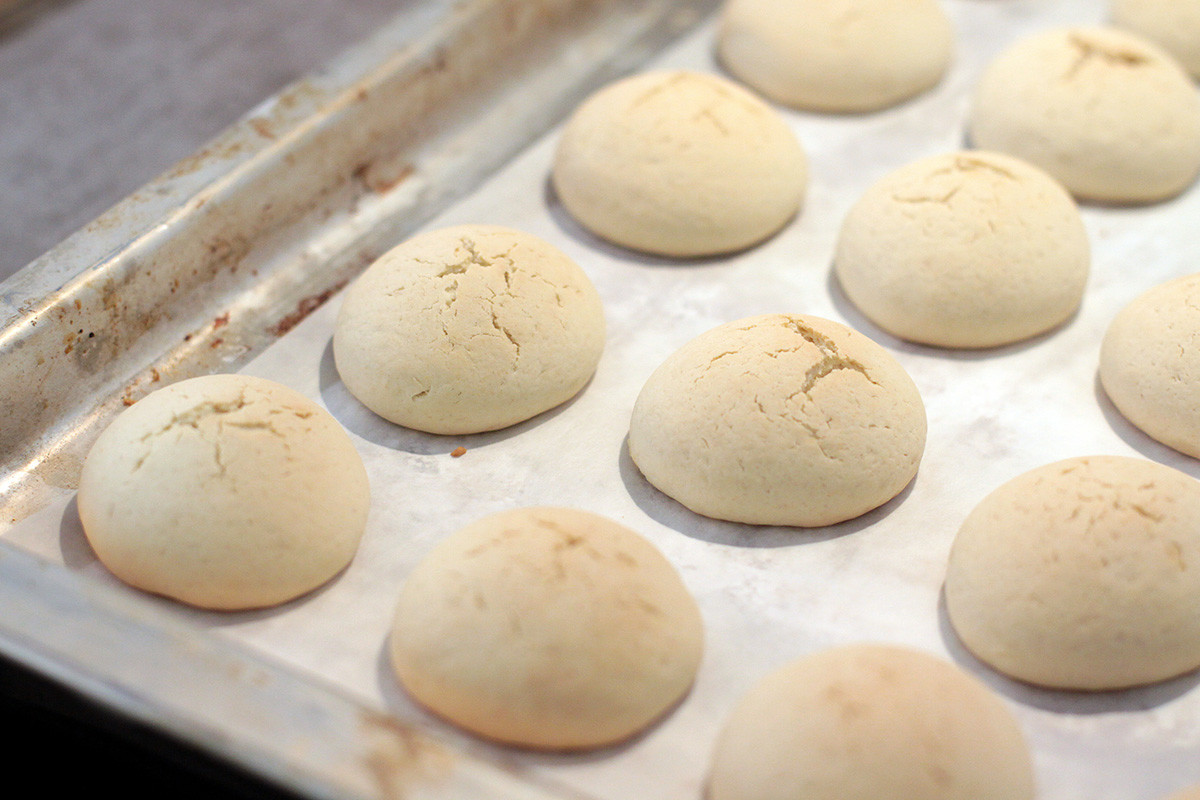
4. Form equal-size balls, about a tablespoon each – you may slightly grease your hands with oil if the pastry sticks to your fingers. Place the pastry balls on a baking sheet covered with a piece of parchment and put in the oven for around 15-17 minutes at 190°C.
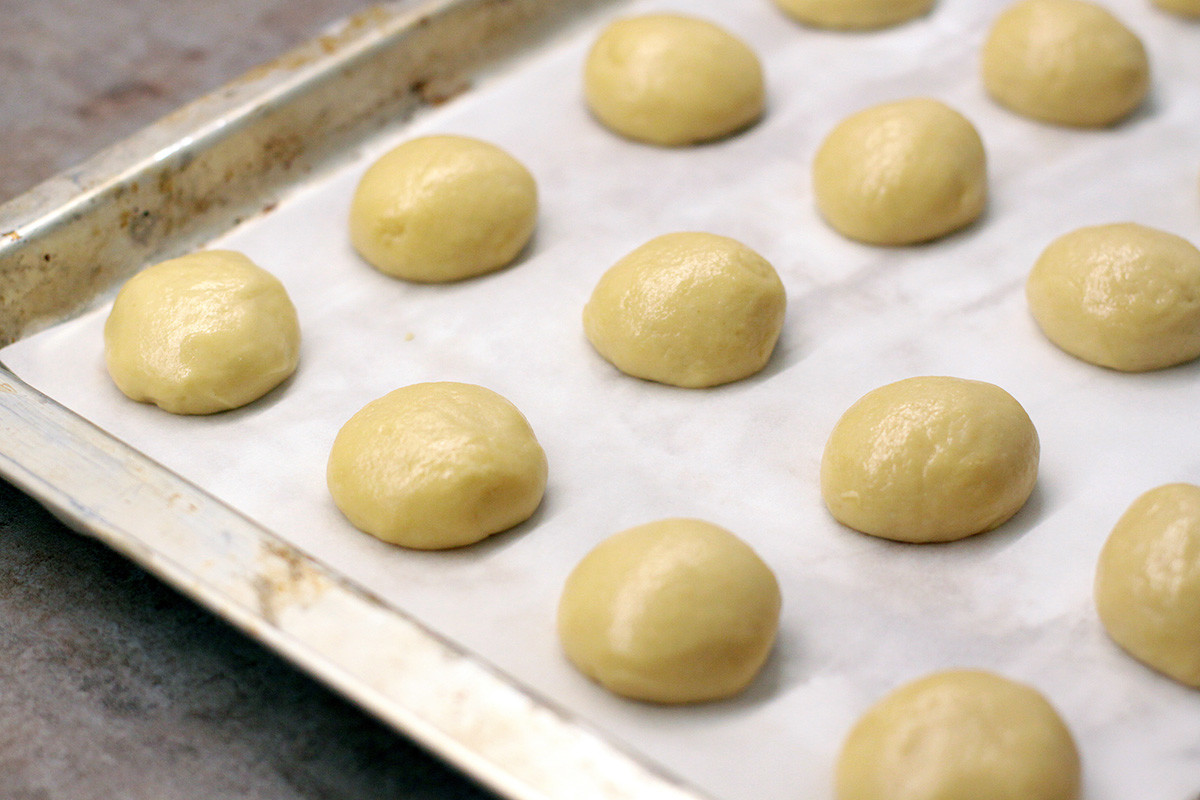
5. The cookies should come out well-baked inside but yet not brown on the surface.
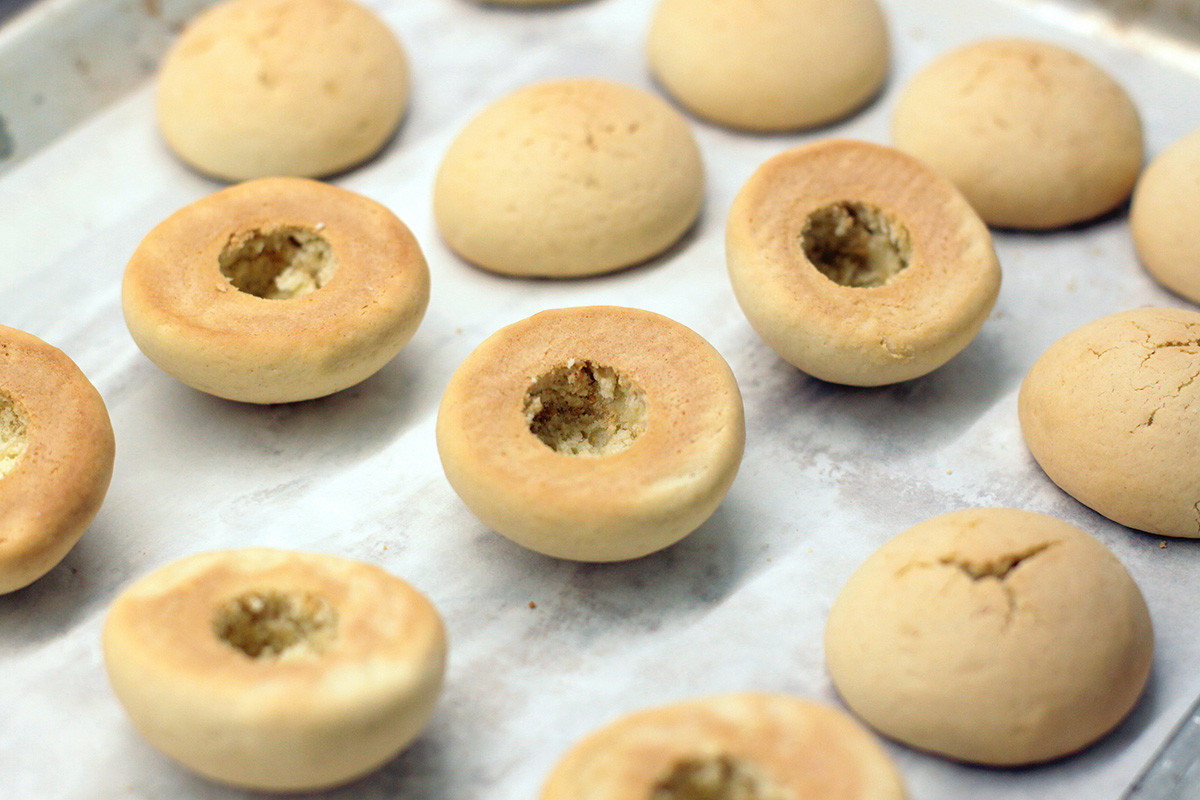
6. Let them cool just slightly, and using a small knife or a special cooking mold cut out a circle from the center of the bottom of each cookie – here are your gaps for the filling. At this point you better find a “pair” for each cookie.
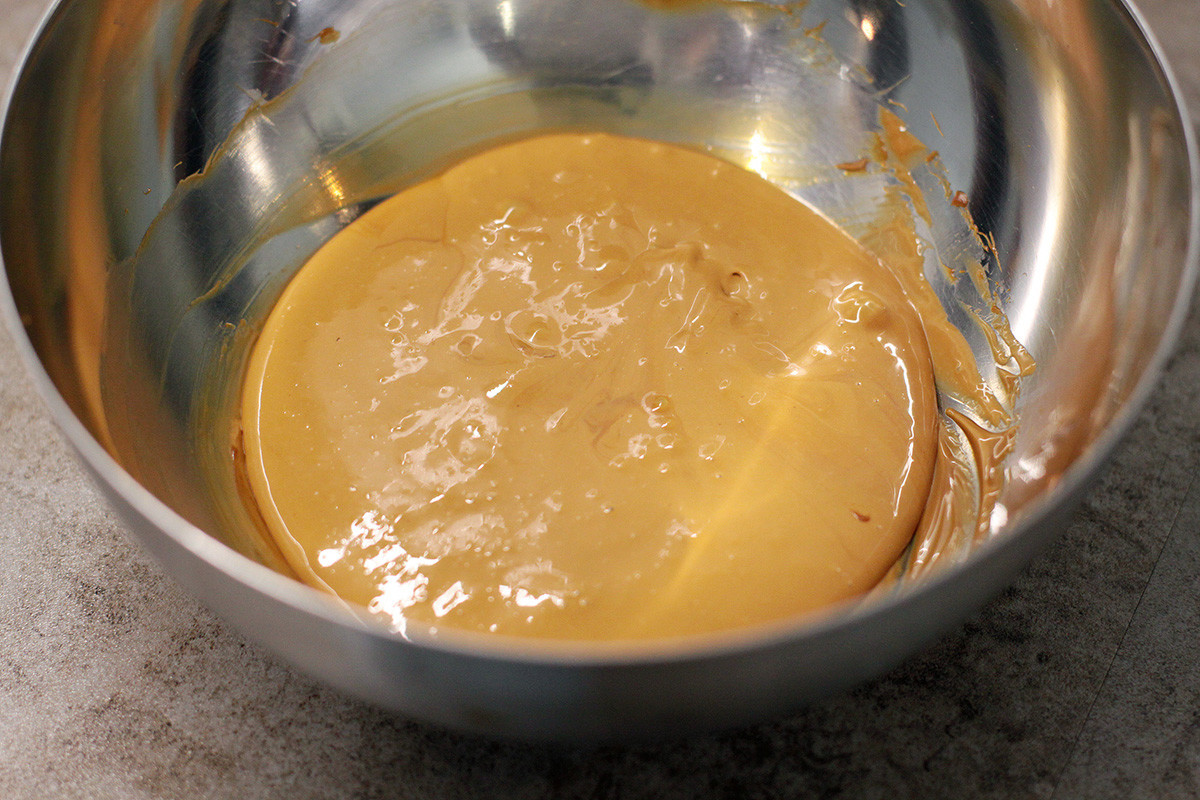
7. Next, let’s do the filling: whisk boiled condensed milk or dulce de leche with a generous pinch of salt to get a nice salty caramel kind of taste. Some like to add butter or mascarpone to make the filling more creamy, others add a portion of apricot jam to make it more sour and fruity, but I prefer plain-boiled condensed milk works.
8. Using a piping bag, fill each cookie with dulce the leche, overfilling just slightly. Gently press together paired cookies, repeat with all and place in the fridge for around 30 minutes so that they set with the filling.

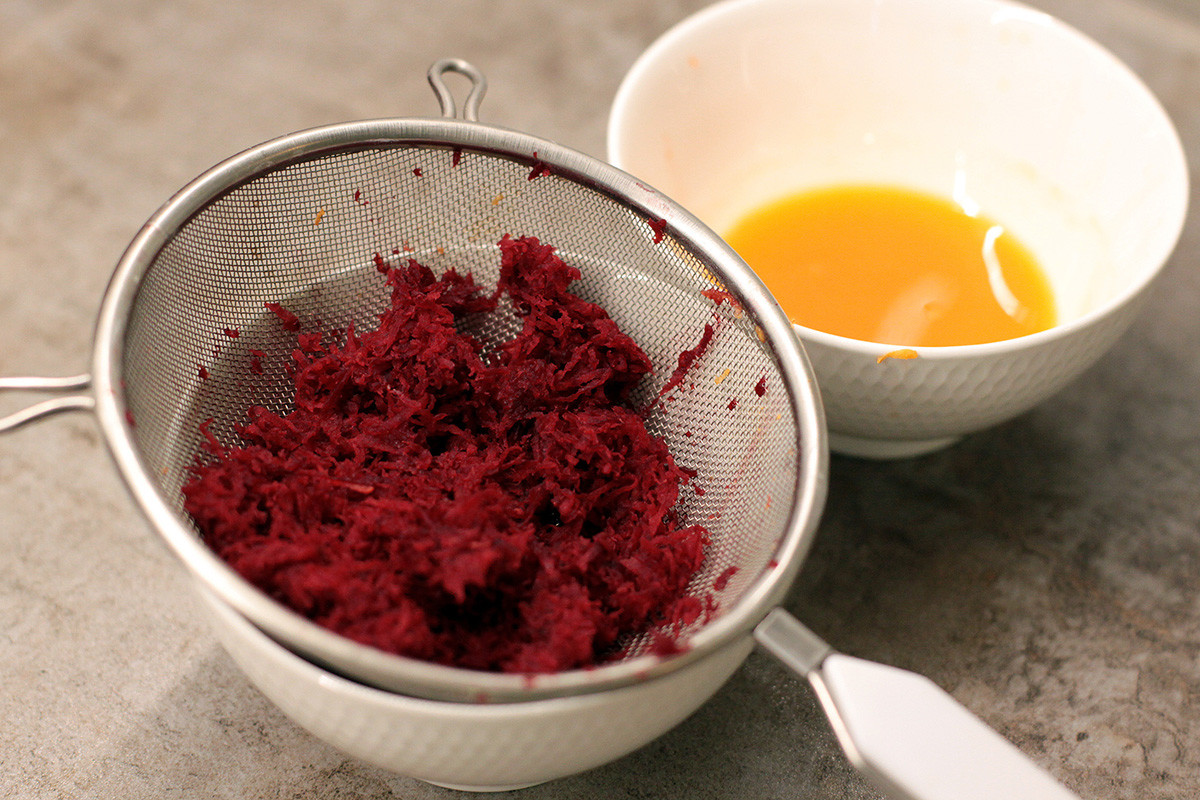
9. For the natural dye, grate one carrot and one beet. Using a strainer, squeeze juices in two separate bowls.
10. Take one “peach” at a time, dip one half in carrot juice, the other in beetroot.
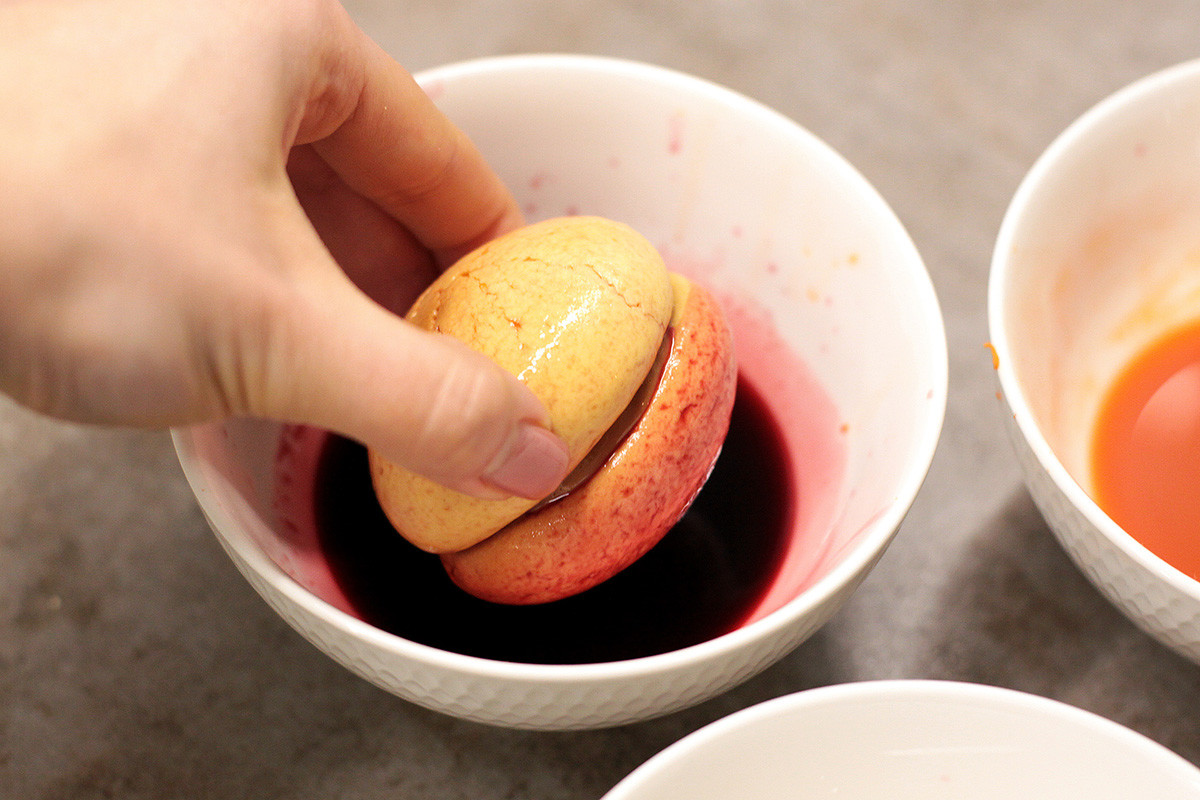
11. Immediately after, generously dip your cookie in sugar. Repeat with all the “peaches”.

12. When you’re done with all the pastries, put them aside for an hour to set.
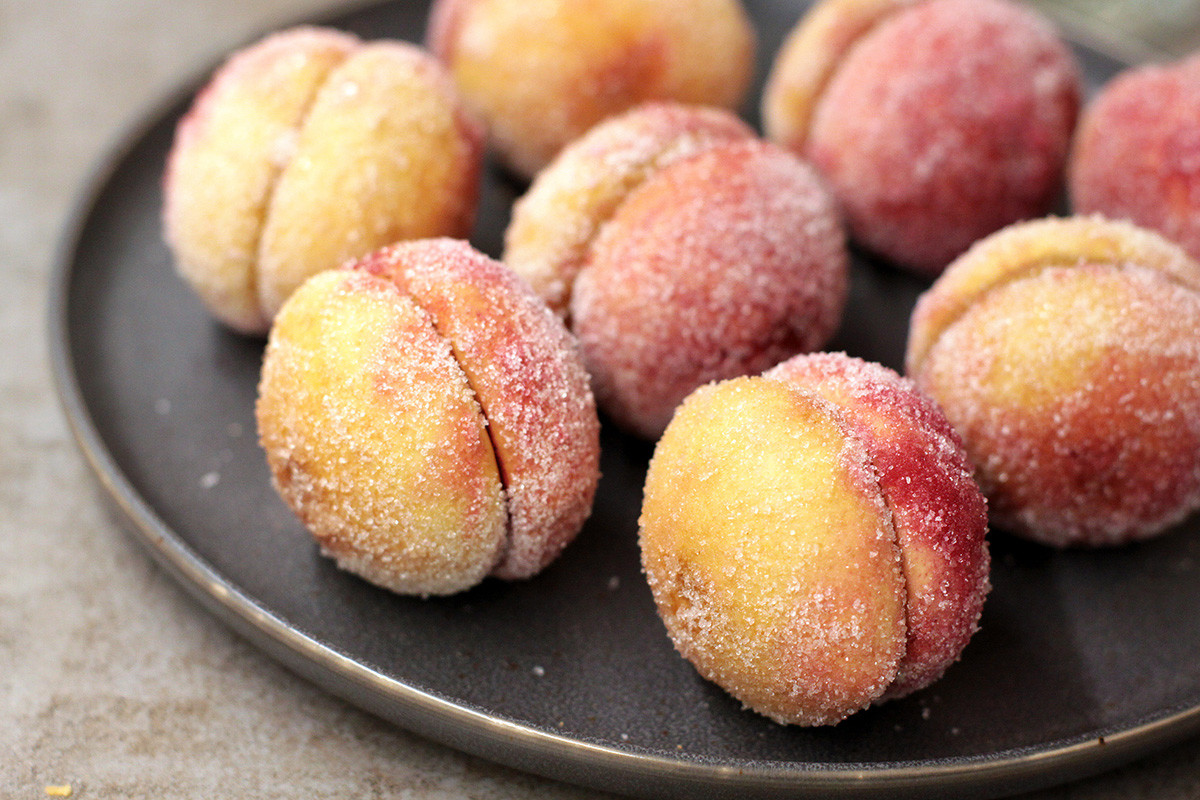
13. For even more realistic effect, decorate with fresh or dried mint leaves and serve. Priyatnogo appetita!
Read more: How to bake iconic rogaliki, aka Soviet “croissants”
If using any of Russia Beyond's content, partly or in full, always provide an active hyperlink to the original material.
Subscribe
to our newsletter!
Get the week's best stories straight to your inbox